
by Brett Wilson
How To Build a “Home Brew” Binos Adapter (BA)
A. Parts
First there is a few items you’ll need to buy, but I’ve tried to keep this as cheap as possible yet still be a high quality build. This bino adapter fits my binoculars only, I have NOT tried this out on other binoculars so please be aware of this. But this should give you a rough idea on how to build your own. Mine turned out really nice and works excellent!
Parts needed include:
-point and shoot camera (video/still, prefer HD capability) I bought the Canon Powershot ELPH 300 HS.
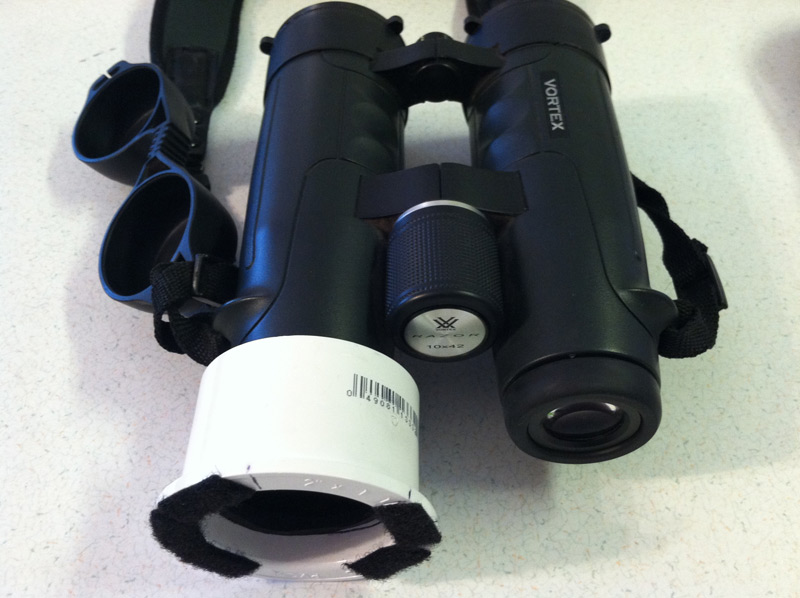
-binoculars (mine are the Vortex Razors 10×42)
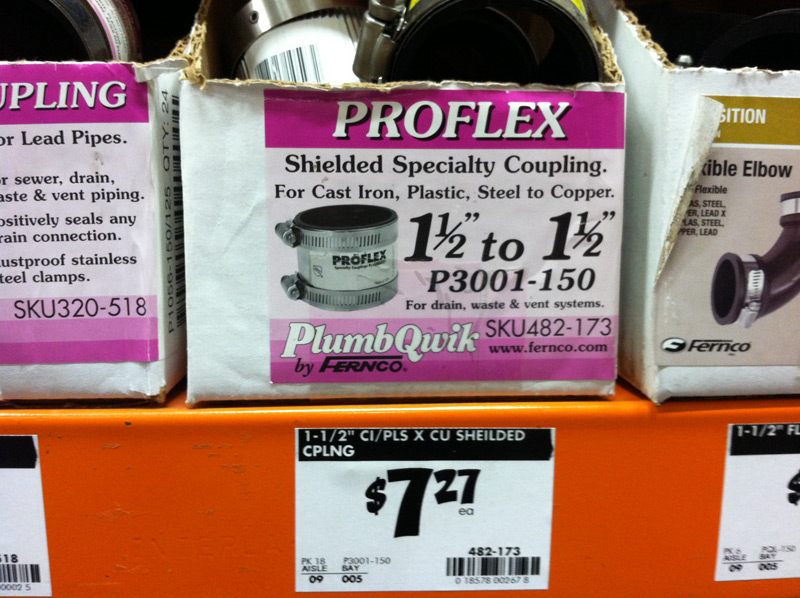
-White Adpater 2″
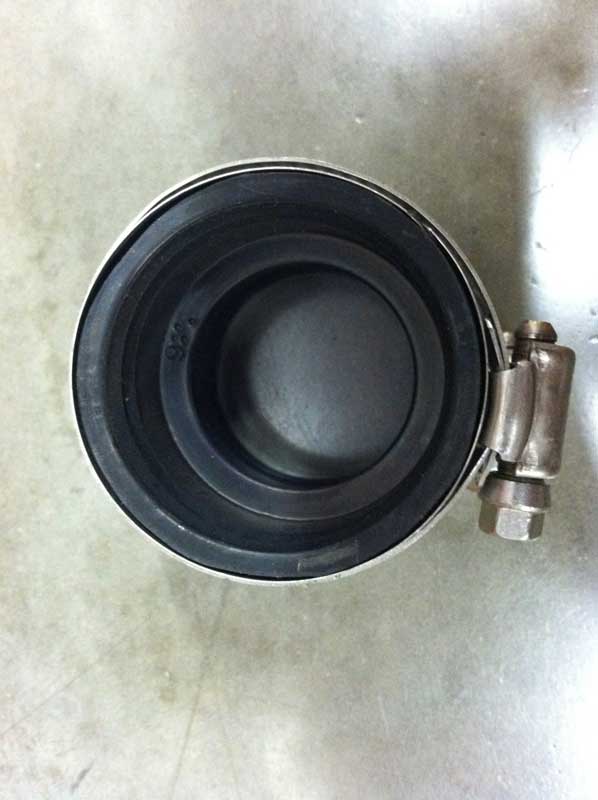
-Black Rubber Insert 2″ (see image, taken from inside coupling)
-Black Velcro (Sticky Adhesive)
-Gorilla Glue
Tools needed:
-Dremel Took Kit (with accessories)
-Exacto Knife
Total Cost:
-$10.00 Dollars
B. Building
Pretty simple to build, I used my dremel tool to sand off the small lip on the inside of the white 2″ PVC adapter (see 3rd image below in gallery). This way the adapter is now all one smooth piece on the inside. I attached velcro to the back of the white 2″ piece as shown. Attached the velcro pieces to my Canon ELPH 300 HS as shown. You can also epoxy glue this male adapter piece to the camera but I DID NOT do this for this reason. I wanted the white 2″ adapter piece to be detachable as to not cover the flash or red eye reduction buttons on the camera. My camera is expensive and I didn’t want to ruin it with permanent glue. If you have a cheaper camera laying around glue might not be a bad option.
I’ll be using my point and shoot occasionally for other things so detaching my white 2″ PVC adapter via velcro is really slick and easy. I cut the black rubber insert in half, I used the smaller thickness side of the black rubber insert (see attached images below). One side of the rubber insert is thicker than the other, I used the SMALLER or less thick side. I cut a piece or slice out of my 2″ black rubber piece, I cut just enough so that I had a nice tight fit inside the white 2″ adapter piece as shown. With the black rubber insert inside, it now fits snug onto the end of my binocular eyepiece. I then glued (gorilla glue) the black rubber insert inside my white 2″ adapter piece to prevent slippage.
I also used my dremel took to sand/shave off the inside of my black rubber insert so that it fits properly and snug over the end of my binocular eyepiece. Just be patient and keep sanding off the black rubber until you get the correct fit, it’s a little bit tricky on mine as the end of the bino eyepiece is tapered and gets larger in diameter as you slide the adapter piece over the end.
C. Final Touches
You can/could paint the spotting scope adapter piece all black if you’d like. I might do that in the future but for now that’s the least of my worries. Simply slide the adapter onto either eyepiece of your binoculars and start shooting HD video or high quality 12.1 MB still images through your spotter.
It works best to have your camera lens end AS CLOSE AS POSSIBLE to then end of your bino eyepiece, simply focus your binos on your subject (slide the adapter over your bino eyepiece and then zoom in with your point and shoot camera. Mine happens to have a 5x optical zoom but 3x also works great which is common for small digital cameras.
It’s best to have your binos on a small lightweight tripod, however you can rest the binos on anything you’d like as long as there is no movement (backpack, side of truck, tree log, rocks, etc.).
If your trying to take still pictures vs. video, you’ll need to use the self timer mode/option. As trying to take a picture with your finger on the button without movement is next to impossible.
Believe me this works awesome, here is proof below.
Image Gallery (click to enlarge)


Instructional Video
-COMING SOON!
Sample Videos

Leave a Reply
You must be logged in to post a comment.